![]()
Setting up Sucuri’s CloudProxy with a standard website installation at GoDaddy, as I have done a few of these, I thought it useful to do a walkthrough to assist others making the same choice. A number of my clients that I have supported over the last couple of years have now moved their blogs to the protection of CloudProxy, and I am now working as a security analyst for Sucuri.
Installation can be broken down like this:
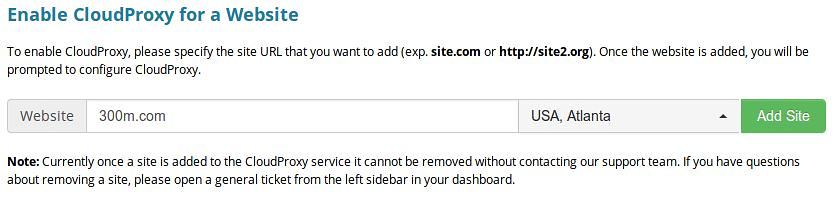
Add the domain name at Sucuri and choose a location then “add site”
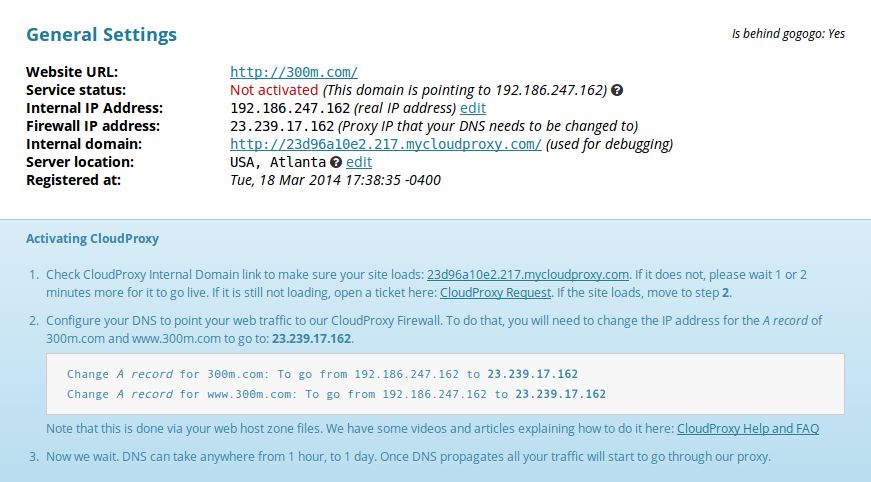
Test the site by using the provided “mycloudproxy.com” link which replicates use through the firewall, and make changes to the whitelist, security or caching sections till you are happy.
Now go to GoDaddy’s CPanel DNS Zonefile Editor, ignore any entries for “secureserver.net”, remove the CNAME for “ftp”, “cpanel” and any other services you may need access to in future.
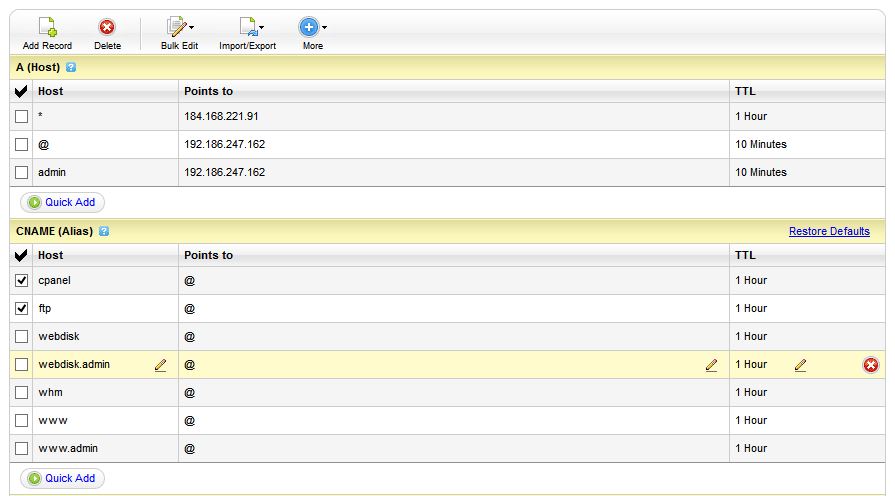
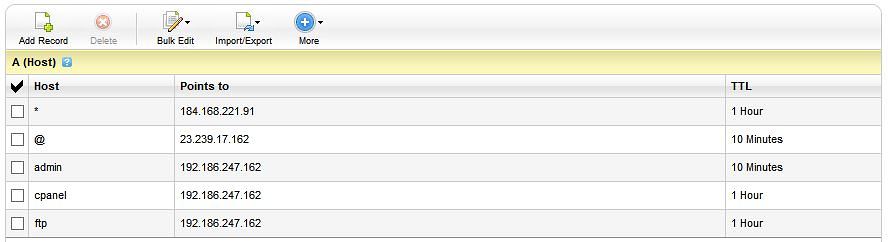
Next recreate the “ftp”, “cpanel” and any others as “A” records using the internal IP address, in this case 192.186.247.162, and change the “A” record for @ to the CloudProxy Firewall address of 23.239.17.162 so it looks like this…
Your site will after the changes propagate be behind the firewall which can take between one and a few hours. It is always handy to keep the white list url handy which is on the api tab on the CloudProxy settings page.
If this all feels overwhelming, the nice people at Sucuri are always happy to make these changes for you.